This Crockpot Apple Butter is so simple to make and a great way to use up extra apples! The whole recipes comes together with just 6 simple ingredients. It’s packed with flavor and such a delicious fall treat that everyone will love.
Table of Contents
Every fall, I absolutely have to whip up some of this crockpot apple butter! It comes together with just a few simple ingredients to create a rich, velvety spread that will fill your home with the warm scent of cinnamon and apples.
As the apples cook down slowly in the slow cooker, they absorb the deep flavors of brown sugar, cinnamon, nutmeg and vanilla. The result is a sweet, spiced apple butter that’s perfect for spreading on toast, drizzling over pancakes, stirring into oatmeal or enjoying by the spoonful.
Why you will love this recipe
- Easy to make: Just toss the ingredients into the slow cooker and let it do all the work!
- Super flavorful: Sweet apples, cinnamon, nutmeg, and vanilla combine for a warm, comforting spread.
- Perfect for fall: The smell of apples and spices simmering all day fills your home with cozy vibes.
- No added preservatives: Homemade apple butter with simple, natural ingredients.
- Great for gifting: Makes a perfect homemade gift for friends and family.


The ingredients in this recipe are very simple:
- Fresh apples: You can use any variety that you’d like and I like to mix different kinds together when making apple butter for a more dynamic flavor.
- Brown sugar: My recipe calls for 1 1/2 cups of sugar but you can use half of that if you want a less sweet apple butter.
- Cinnamon + nutmeg: Adds warm, cozy, fall flavor everyone loves.
- Vanilla extract: Many recipes don’t call for vanilla in apple butter but I really like it. This could also be left out as desired. You could also swap it for bourbon (YUM!).
- Salt: Helps balance the sweetness and enhances the other flavors.


How to make Crockpot Apple Butter:
While this is a rather lengthy process (that will leave your house smelling AMAZING!), it’s actually very easy. Let’s go over the specifics:
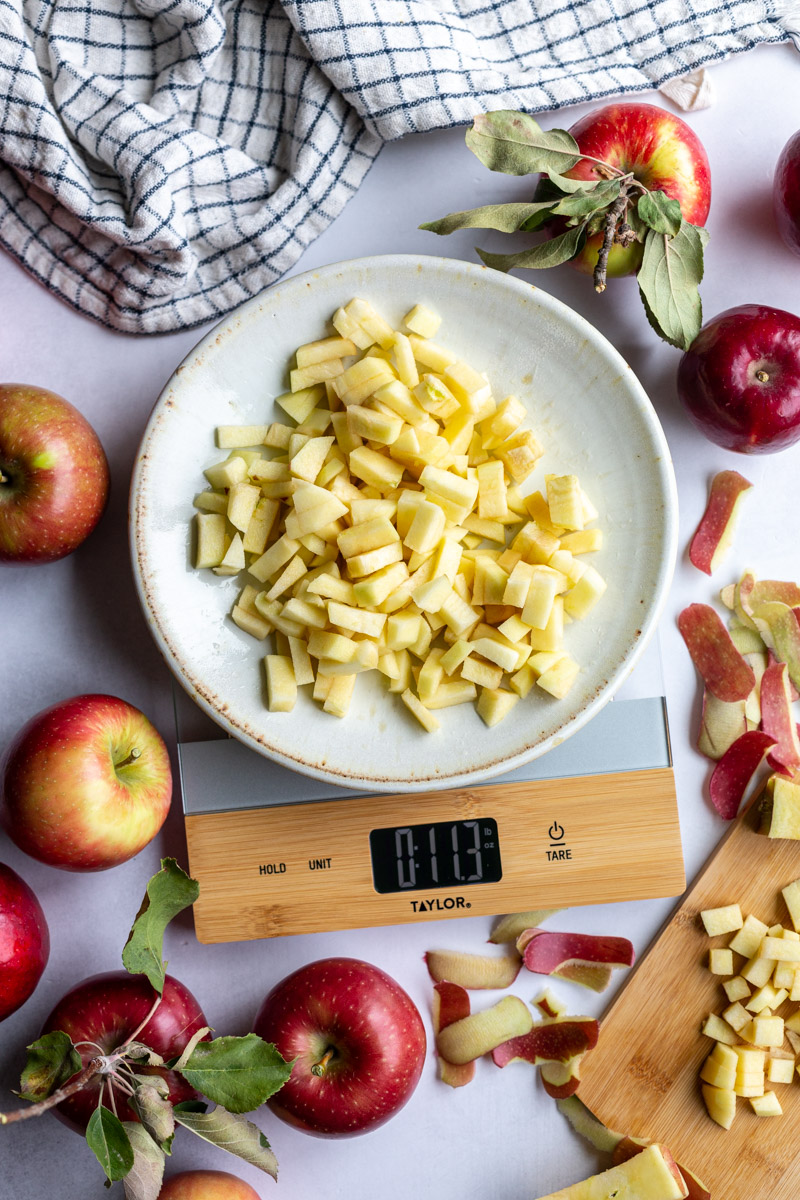
Start out by peeling and dicing your apples. You’ll want to weigh out 5 pounds of diced apples (it ends up being about 5 3/4 pounds of whole apples). I’ve found that diced apples work better than slices in this recipe.
Add all of the ingredients, minus the vanilla, into your slow cooker and mix to combine. Cook on high for 1 hour and then turn the heat to LOW and cook for 10-12 hours. I typically stir it every few hours but this really isn’t necessary. So as desired, you could let it cook overnight once you’ve turned it down to low.


Once it’s almost done cooking, stir in the vanilla and let it cook with the lid off, on low, for one additional hour. This cooks off some of the moisture and thickens up the apple butter a bit. At this point, the apple butter is ready to enjoy and will be about the consistency of chunky applesauce.
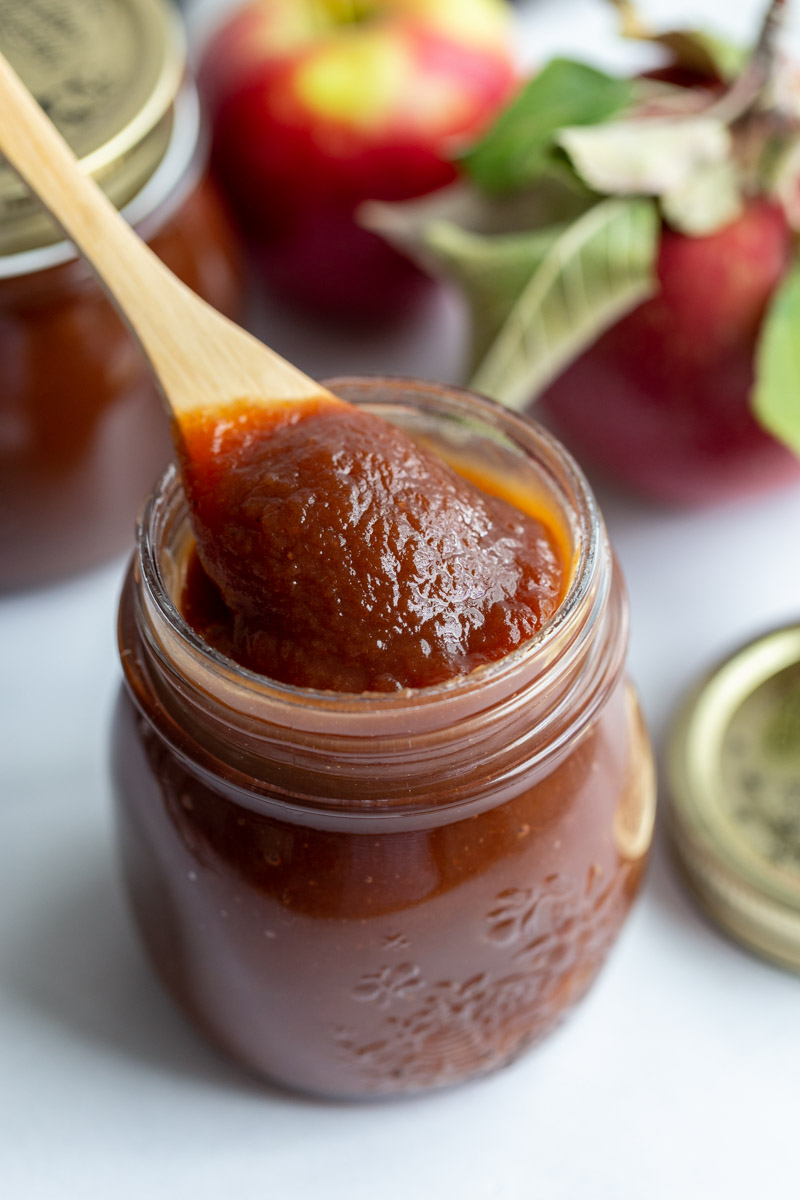
I prefer to blend mine up with an immersion blender (although a regular blender will also work – just be careful with the hot liquid) to get it ultra creamy and more like traditional apple butter. Serve and ENJOY!


Helpful tips
- Make less: My recipes calls for 5 pounds of apples which admittedly makes a hefty amount of apple butter. It freezes well so I like to pop a jar in the freeze AND still have a couple of small jars leftover to give to friends. If you’d like to make less of the apple butter, you can easily cut the recipe in half and simply weigh out 2 1/2 pounds of apples.
- Use a mix of apples: A couple of different apple varieties, such as Fuji, Gala, or Honeycrisp with a tart variety like Granny Smith, brings depth of flavor. Using sweeter apples also means you may need less sugar.
- Peeling and coring: Even though you’ll blend the apples, be sure to peel and core them first. This will result in a smoother texture and prevent any bitterness from apple skins.
- Cook low and slow: For the richest, thickest apple butter, let it cook on low for 10 hours. This slow cooking process allows the flavors to deepen.
Frequently asked questions
If the apple butter is still too thin after the full cooking time, remove the lid and let it cook on high until the excess moisture evaporates, stirring occasionally.
Apple butter has a rich, deep flavor that’s sweet, spiced, and slightly tangy. The cooking process caramelizes the apples and reduces the mixture, concentrating the flavors and giving it a smooth, spreadable texture. It’s similar to apple sauce but much more intense in flavor and more buttery in consistency.
Stored in the fridge in an airtight container, apple butter lasts about two weeks. For longer storage, freeze it for up to three months or even a little longer.


Ways to enjoy it:
Most often, I LOVE to eat my apple butter on a piece of toast but this is also great on waffles, biscuits, pancakes and muffins!
I HIGHLY suggest mixing some into oatmeal which is so so delicious!
Storing apple butter:
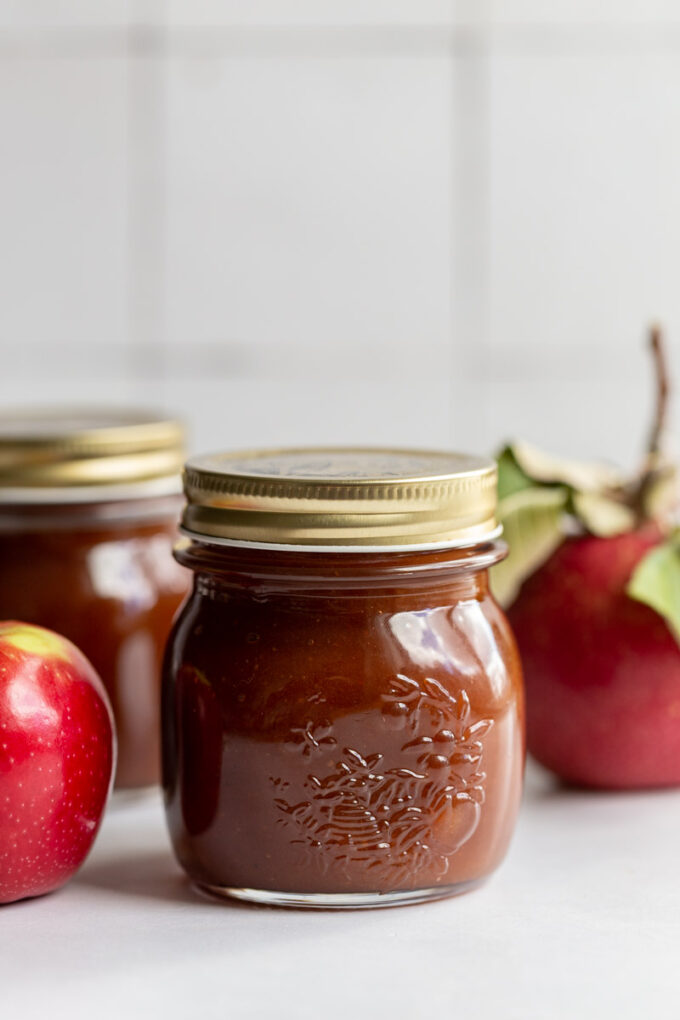
Put the apple butter in airtight containers and store in the fridge for a few weeks. It also freezes well! Place it in the freezer and use within 6 months.
More apple recipes


ALRIGHT that’s it for today! As always, if you end up making this apple butter, please snap a quick photo and tag me on Instagram @foodwithfeeling! I always LOVE to see what you’re making from the blog.


Prevent your screen from going dark
-
Add the diced apples into a 6-quart or larger Crockpot. Mix in the remaining ingredients minus teh vanilla: brown sugar, salt, cinnamon, and nutmeg and mix so that the apples are evenly coated.
-
Cover and set the slow cooker to HIGH for 1 hour. Reduce the heat to LOW and cook for 10 hours. It’s not absolutely necessary, but I like to give it a good stir every 1-2 hours.
-
After the 10 hours, remove the lid and stir in the vanilla. Let it cook, uncovered, for 1 additional hour to cook off some of the moisture. Remove from the heat.
-
You can serve the apple butter as is OR blend it so that it’s creamy. The best way to do this is using an immersion blender but a regular blender will also work (just be very careful when transferring and blending the hot apple butter!).
-
Serve and ENJOY!
*this freezes well so I suggest putting a jar or 2 in the freezer for later! it also makes a great gift 🙂

